Qingping Air Monitor Light: Connected to InfluxDB in an Afternoon (feat. Docker)
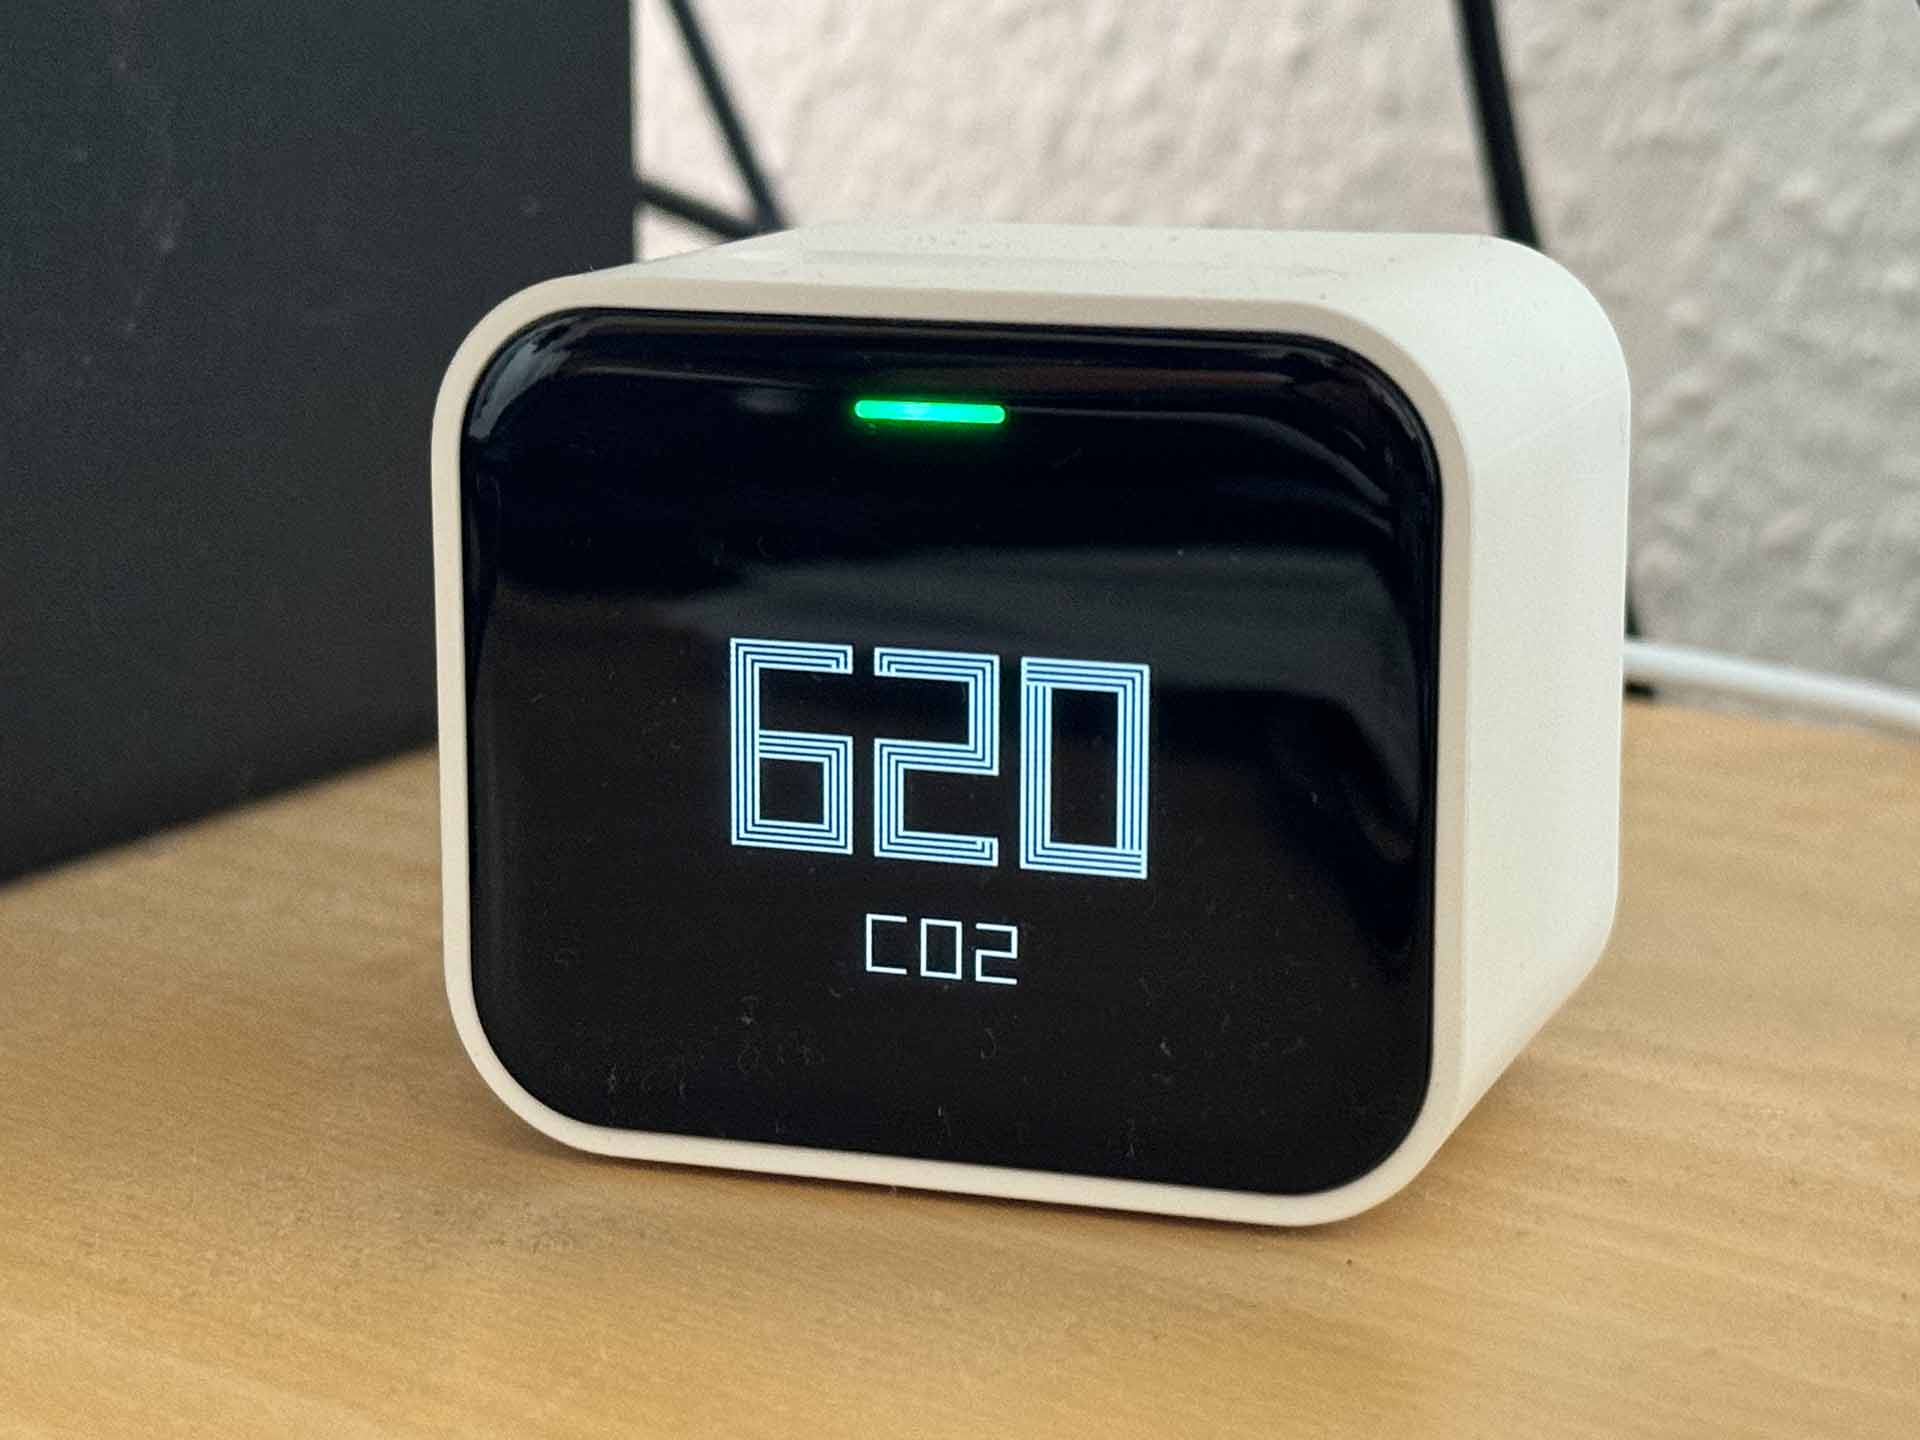
In my pursuit of an open smart home, including self-built HomeKit accessories, I recently had a new idea: after already building my own air quality monitoring station with the OSAMD measuring station, I wanted to experience the advantages of a commercial monitoring station for once: compactness and a wealth of sensors in a nice design. After some research, I decided on the market leader Qingping, which offered a small, compact box with OLED panel, particulate matter sensor, humidity and air temperature sensor, as well as an air quality index sensor with its Air Monitor Lite. At 65 euros on sale, it was a compact box capable of just about everything.
And so I once again set out on the journey of "buy commercial products, bolt on my own data collection."

Getting to the data
The first step in any such project is the basic prerequisite of getting access to the device's data. Actually, this shouldn't be that hard either: Qingping provides an API according to the OpenAPI specification. So everything should be up and running in 15 minutes? Think again!
Registering the device alone brought the first difficulties: in the incredibly unstable and bug-ridden app "Qingping+", HomeKit devices are recognized and read out, but not correctly added to the Qingping account. It turns out that the devices are only stored in the account after a reset (press the function bar on top of the sensor for about 10 seconds) and reconfiguration as a Bluetooth bridge from within the app (then without HomeKit). The fact that the sensor is sometimes shown in the account overview within the app even without this configuration can only be considered a bug. In any case, without this step, data does not officially reach Qingping. Whether adding it to the home Wi-Fi works this way is also anyone's guess. In my case, the password was not accepted in the local IoT Wi-Fi; I could only add the device correctly via guest access (both exclusively 2.5 GHz Wi-Fi networks).
Next, you have to log in with your Qingping account at https://developer.qingping.co/ . You can check whether the device was stored correctly under "Private Access Config" when you want to add a device (Devices in the left sidebar, then "add Device"). If everything worked when adding it, the device should be shown there:

And now it was time to get to the device's data: the developer documentation only reported very patchily on the expected data, but after some time I was able to figure out that a token first had to be created via the API according to the OAuth spec, which would then expire every two hours and had to be regenerated. I'll skip the many failed attempts to format the request correctly and go straight to the working version:
curl -u APPKEY:APPSECRET -H "Content-Type: application/x-www-form-urlencoded" -X POST https://oauth.cleargrass.com/oauth2/token -d "grant_type=client_credentials&scope=device_full_access"
returns the following:
{"access_token":"TOKEN-MIT-87_CHARACTEREN","expires_in":7199,"scope":"device_full_access","token_type":"bearer"}
APPKEY and APPSECRET can be found by clicking on the email address in the top right of the developer portal under "Access Managment".
Now you can test a data query against the API with the newly obtained access token:
curl -H "Authorization: Bearer DEIN_TOKEN" -H "Content-Type: application/json" -X GET https://apis.cleargrass.com/v1/apis/devices
should return a response similar to this:
It quickly becomes apparent that "report_interval":900,"collect_interval":900 means the sensor data is only queried every 900 seconds, i.e. every 15 minutes. We can adjust this with a suitable payload to the settings API:
curl -H "Authorization: Bearer DEIN_TOKEN" -H "Content-Type: application/json" -X GET https://apis.cleargrass.com/v1/apis/devices/settings --json '{"mac": ["GERÄT_MACADRESSE"], "report_interval": 10, "collect_interval": 5, "timestamp": 1716658625}'
After that, a different value should be shown for the report interval and collect interval from then on. The timestamp should be current within a 20-second window each time - a website like https://www.unixtimestamp.com/ is happy to provide it.
Python implementation
With this foundation in place, it was time to implement the whole thing in a Python program. For this, I still had a rough structure and build scripts from the Meross2InfluxDB project lying around. But since Qingping is not communicated with via its own Python library, and instead a GET request is sent to the API, the Meross2InfluxDB foundation had to be touched after all: out with device selection, in with API key rolling.
After around three hours of back and forth during development, I finally had a Python program with the following features:
- Asynchronous functions for fetching the API keys: a new API key is obtained every hour, and this happens in an asynchronously running function alongside the data fetch function
- Automatic setting of the sensor refresh interval in its own subroutine.
- Flexible data point creation: Qingping2InfluxDB does not look for specific (measured) values, but writes full key-value pairs from the API response data block into InfluxDB (meaning: other Qingping measuring devices should also be readable without further configuration).
- Health check of InfluxDB and the Qingping API with reporting to Docker.
Here too, the full code with all the trimmings can once again be viewed on GitHub.
Docker image
For this project as well, I built a Docker image and made it available for download on Docker Hub.
A Docker Compose file could look something like this:
That should already make the project runnable and send the data into InfluxDB. As always, please leave problems with the program as a GitHub issue rather than as a comment on this page. Thanks!
Update, 11/06/2024
It turned out that for continuous Docker operation, it makes sense to restart the container once a day, for example via cron job:
crontab -e
0 0 * * * cd /pfad/zur/docker-compose.yml && /usr/bin/docker compose down && /usr/bin/docker compose up -d
I am currently trying to find out where this problem comes from. Until then, such a cron job is simply advisable.